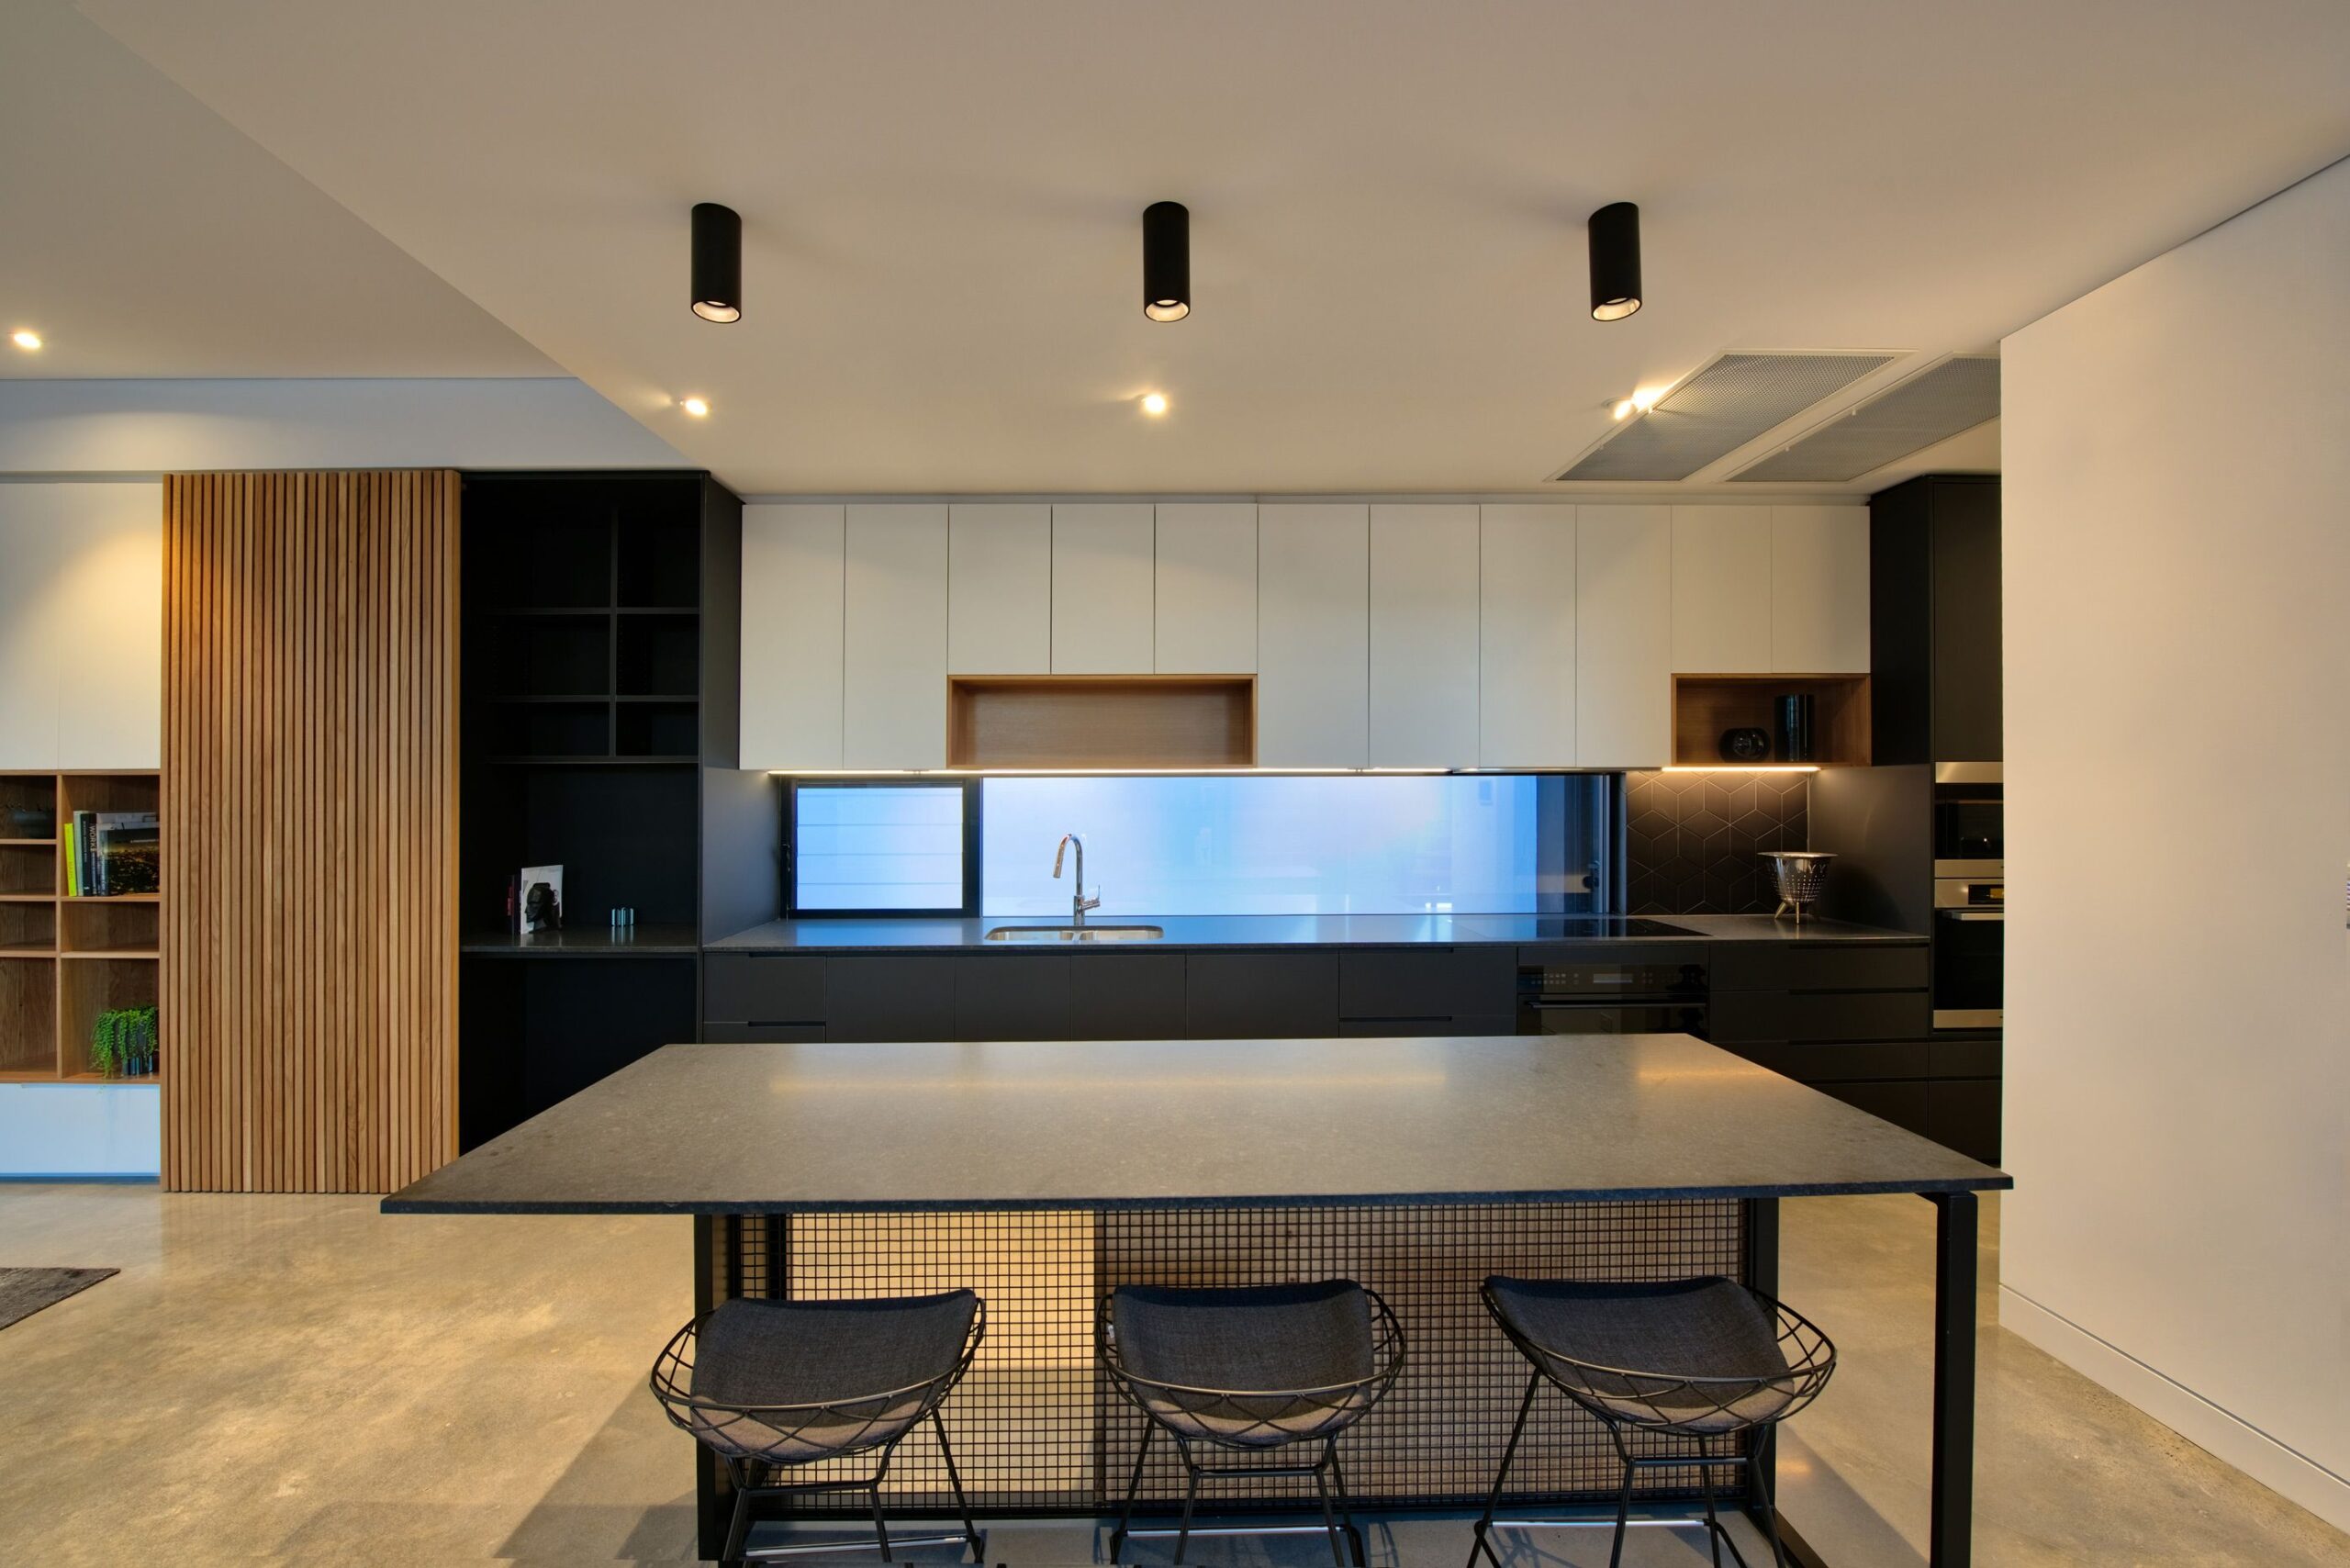
Downlights, also known as recessed lights are a great alternative to traditional hanging lights. Where hanging lights tend to need to be hung in the centre of a room for both room balance and light distribution, downlights can be positioned according surface mounted downlights to need and because they are recessed, they can be positioned without interfering with the aesthetics of the room. Halogen or LED downlights are also extremely economical to run as they have very low energy consumption. Downlights also come inboth fixed or rotating to allow the light to be directed as required. Their appearance is subtle as the guts of the workings is concealed in the ceiling and they often suit contemporary styled home or offices.
When installing downlights, general consensus is to either divide the area into 2 x 2 meter grids and place a downlight in the centre of each grid or to space your downlights at ¾ to 1 whole the distance from the ceiling to the surface being lit (e.g.so if you are lighting a kitchen bench then the light spacing will be closer than if you are lighting to the floor). Whichever method you employ, you need to be aware of, understand and be able to identify the three different types of lighting you might require in your household.
Task Lighting
- Task Lighting is, as it suggests, is task oriented. So if your aim is to light a kitchen bench then you have dedicated lighting to that end. It is recommended that you avoid positioning downlights over people’s faces, particularly if the downlight is above a mirror. Most professionals also recommend that you identify any task lighting required first and map that out before progressing to other lighting types.
Accent Lighting
- Accent Lighting is used to draw attention to or conversely to hide a room feature. For example, you may wish to highlight a piece of art work or wall hanging by using accesslighting to best set it off.
General Lighting
- General lighting is all other general purpose room lighting. General lighting aims to provide even light without shadows.
Downlights are economical, versatile and also come with the option of dimmer switches to alter the light strength. Because downlights are recessed the source of light is less obvious and allows the focus to be on other pieces in the room. Different strength surface mounted downlights are also suggested for different rooms with 2700kw downlights suggested for lounges (a warm white) and 4000kw downlights suggested for kitchens and hallways (a cool white).
How To Install New Globes In Downlights
Whilst downlights are highly useful for use in your home, as they make seeing and focusing on tasks much easier, when the globes blow and no longer work a lot of people find themselves at a loss for what to do. Changing the globe in a downlight is not the same as changing a normal globe – the process is actually much more challenging and takes longer.
Begin by turning off the downlights at the switch. This is especially important if your lights take halogen globes, as they tend to get very hot very quickly. If you do have halogen globes, ensure that you allow them to cool for at least half an hour to prevent accidentally burning yourself.
Stand on a ladder or other sturdy surface to reach the surface mounted downlights. You will need to remove the trim ring; you should be able to do this by pulling straight down on the ring. Most downlight rings are spring loaded, which makes removing them much easier as they will simply fall out when pulled. If, however, you are unable to get your fingers underneath the lip of the downlight, you can use a flat-head screwdriver to pry the ring away from the ceiling. Sometimes, you may find that the downlight ring is unmovable – if this is the case, do not try to force it (as you may damage the ceiling) and contact a lighting specialist for advice.
Next, you will need to unscrew the blown downlight globe. There is a clever trick for doing this – cut a strip of duct tape so that it is about 6 inches long, then stick about 1 inch of each end onto the globe. Stick the remaining 4 inches of tape together, giving you an easy grip. Give the tape a twist, counterclockwise, and the globe should begin to unscrew. Continue to twist the tape until you are able to completely remove the downlight globe.
Ensure that you have a replacement globe that is of the same wattage and type as the one you have just removed, or that has been recommended for the type of downlight that you own. Finish by screwing the new globe into the downlight trim ring, ensuring that they have a snug fit but are not too tight.